Cabinet Choice
After plenty of research, late-night forum scrolling, and asking questions in several Facebook groups, I ultimately decided to order my cabinet from Tukkari. I’ll admit I was a little nervous at first since Tukkari is located in the Czech Republic and the order included a fairly large shipping cost along with import tariffs. I’m still waiting on the final tariff bill from FedEx, but based on the research I’ve done, I’m expecting it to land somewhere around $250–$300.
Before placing the order, I emailed Tukkari to ask about adding the lockdown bar and their printing service. They responded quickly and sent me an invoice via email that even included a $60 discount code applied toward the lockdown bar. I initially tried to pay through their online credit card system but ran into an issue with my bank. Because the transaction was international, I had to contact my bank to authorize it. It was a quick and easy fix, but it’s an extra step you might encounter when ordering from overseas. My order was officially placed on January 23, 2026, and at the time the estimated production lead time was about five weeks.
Jan, the owner of Tukkari, is very active in the Facebook groups I’m part of and has been quick to respond to messages and questions. When it came time to submit my artwork (see my artwork blog for more details), I uploaded everything through WeTransfer.com without any issues. Another great thing is that if you want extra button cutouts or small modifications during the milling process, you can simply message Jan and he’ll usually accommodate the request.
I briefly considered adding a cutout for a launch ball button on the front of the cabinet below the plunger. In the end, I decided against it because one of the main reasons I chose Tukkari was for the cabinet’s clean, low-profile design. If I decide I want that button later on, I’m perfectly comfortable cutting the hole myself.
Shipping
I received my shipping notification on March 2nd—exactly five weeks after placing the order. I can’t even count how many times I refreshed the tracking link while waiting; it was definitely more than a few. The cabinet arrived in the U.S. on March 5th, moved quickly through my local FedEx hub, and was out for delivery the very next day, March 6th.  The packaging from Tukkari was absolutely top-notch. It was worth every penny of the $320 shipping cost. I’ve watched countless YouTube unboxing videos from other U.S.-based flat-pack companies, and this was by far the best packaging I’ve seen.

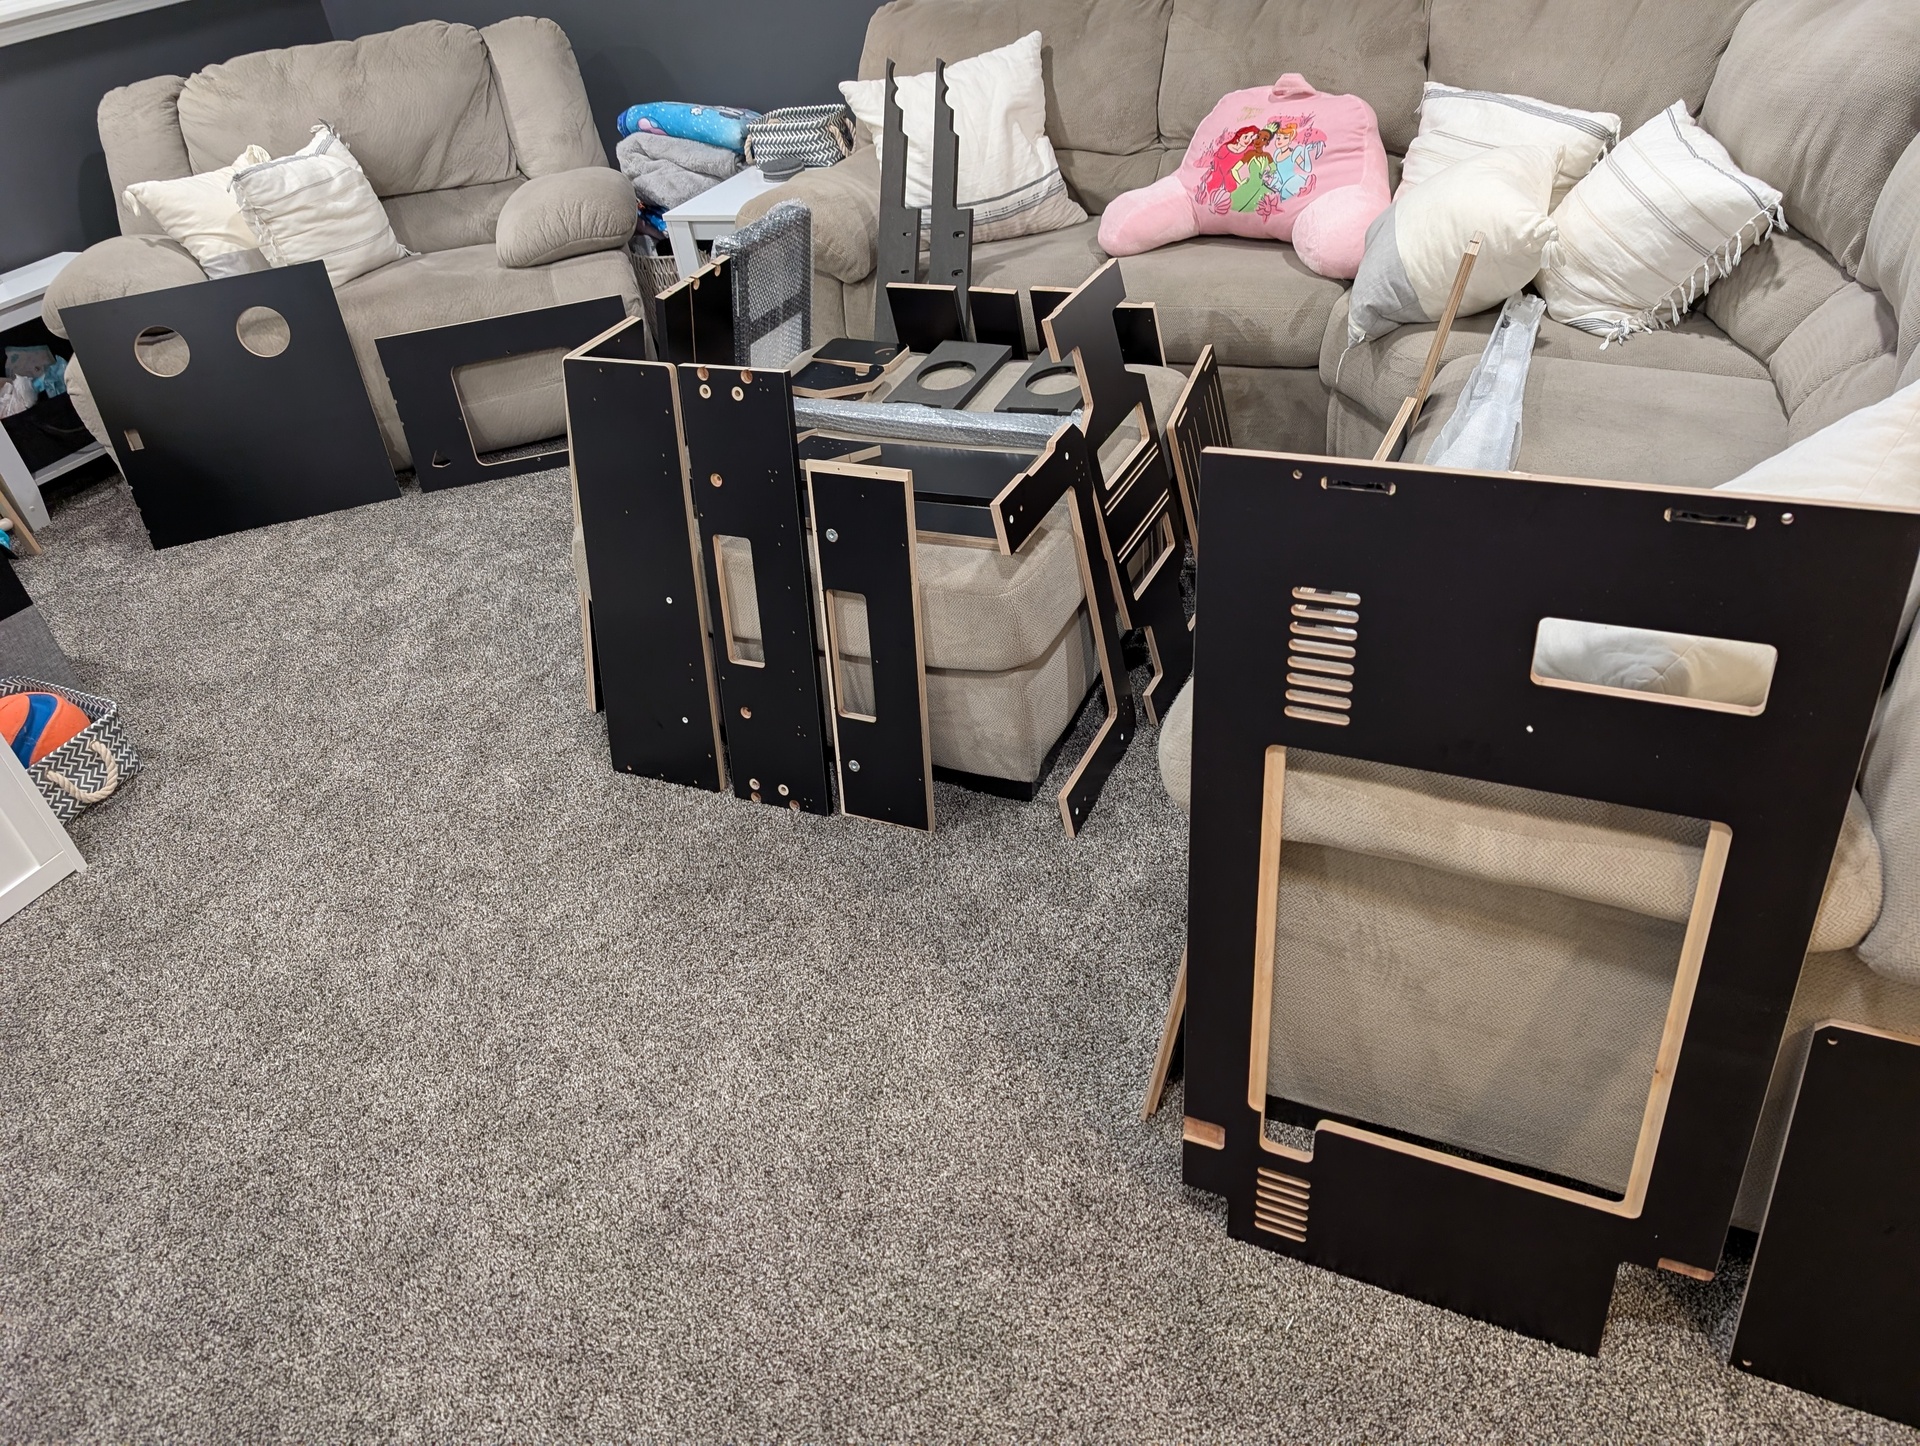
After removing the screws securing the top of the wooden crate, I was greeted by a meticulously packed box. Every piece was surrounded by foam padding and perfectly secured for the nearly 4,500-mile journey. I carefully unpacked the crate one component at a time, carrying everything down to my basement where the cabinet would be assembled and remain permanently.
Assembly
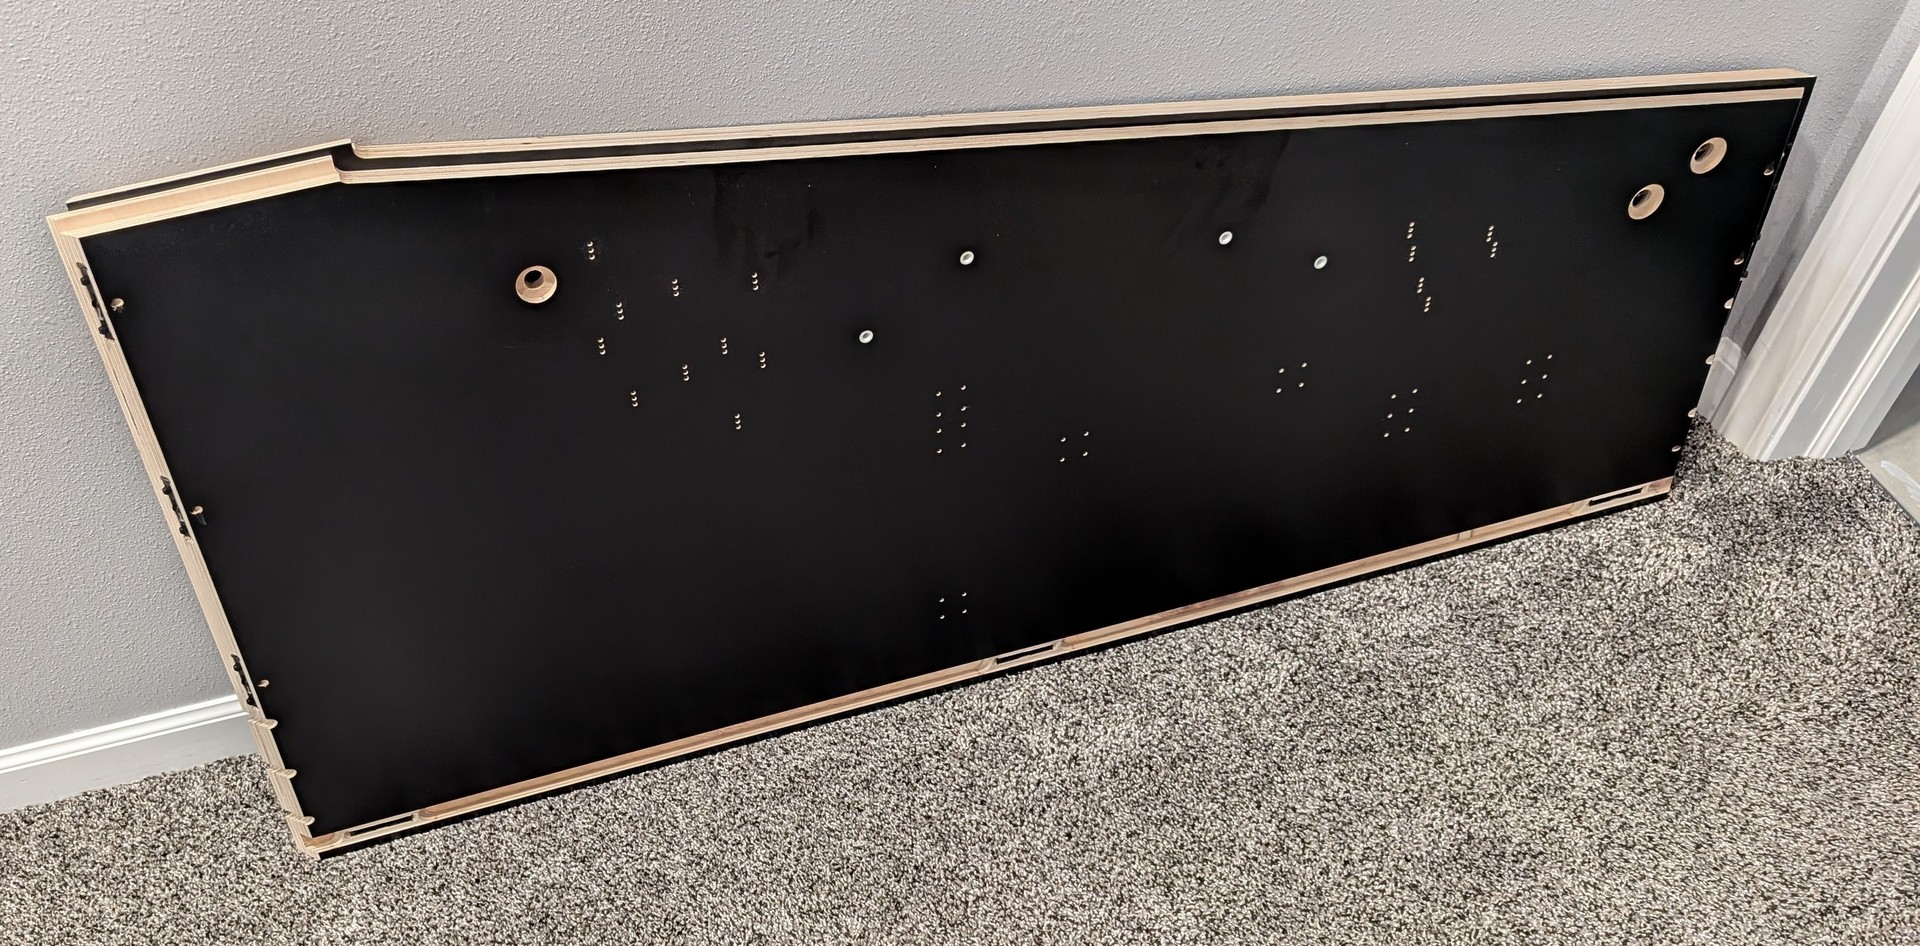
It took quite a few trips up and down the stairs, but once everything was laid out, I was ready to begin. The instructions recommend dry-fitting all components before applying glue to the cabinet body, and I can’t emphasize this step enough. Take the extra time to understand how everything aligns.
The Lamello connectors are excellent, but I did notice a very slight amount of play between some pieces. That small adjustment was necessary to bring the corners perfectly flush. If you assume the connectors alone will pull everything tightly into place without fine-tuning, you may end up with slight corner misalignment. Patience here really pays off. Within about 20 minutes, I had the cabinet body assembled and glued.
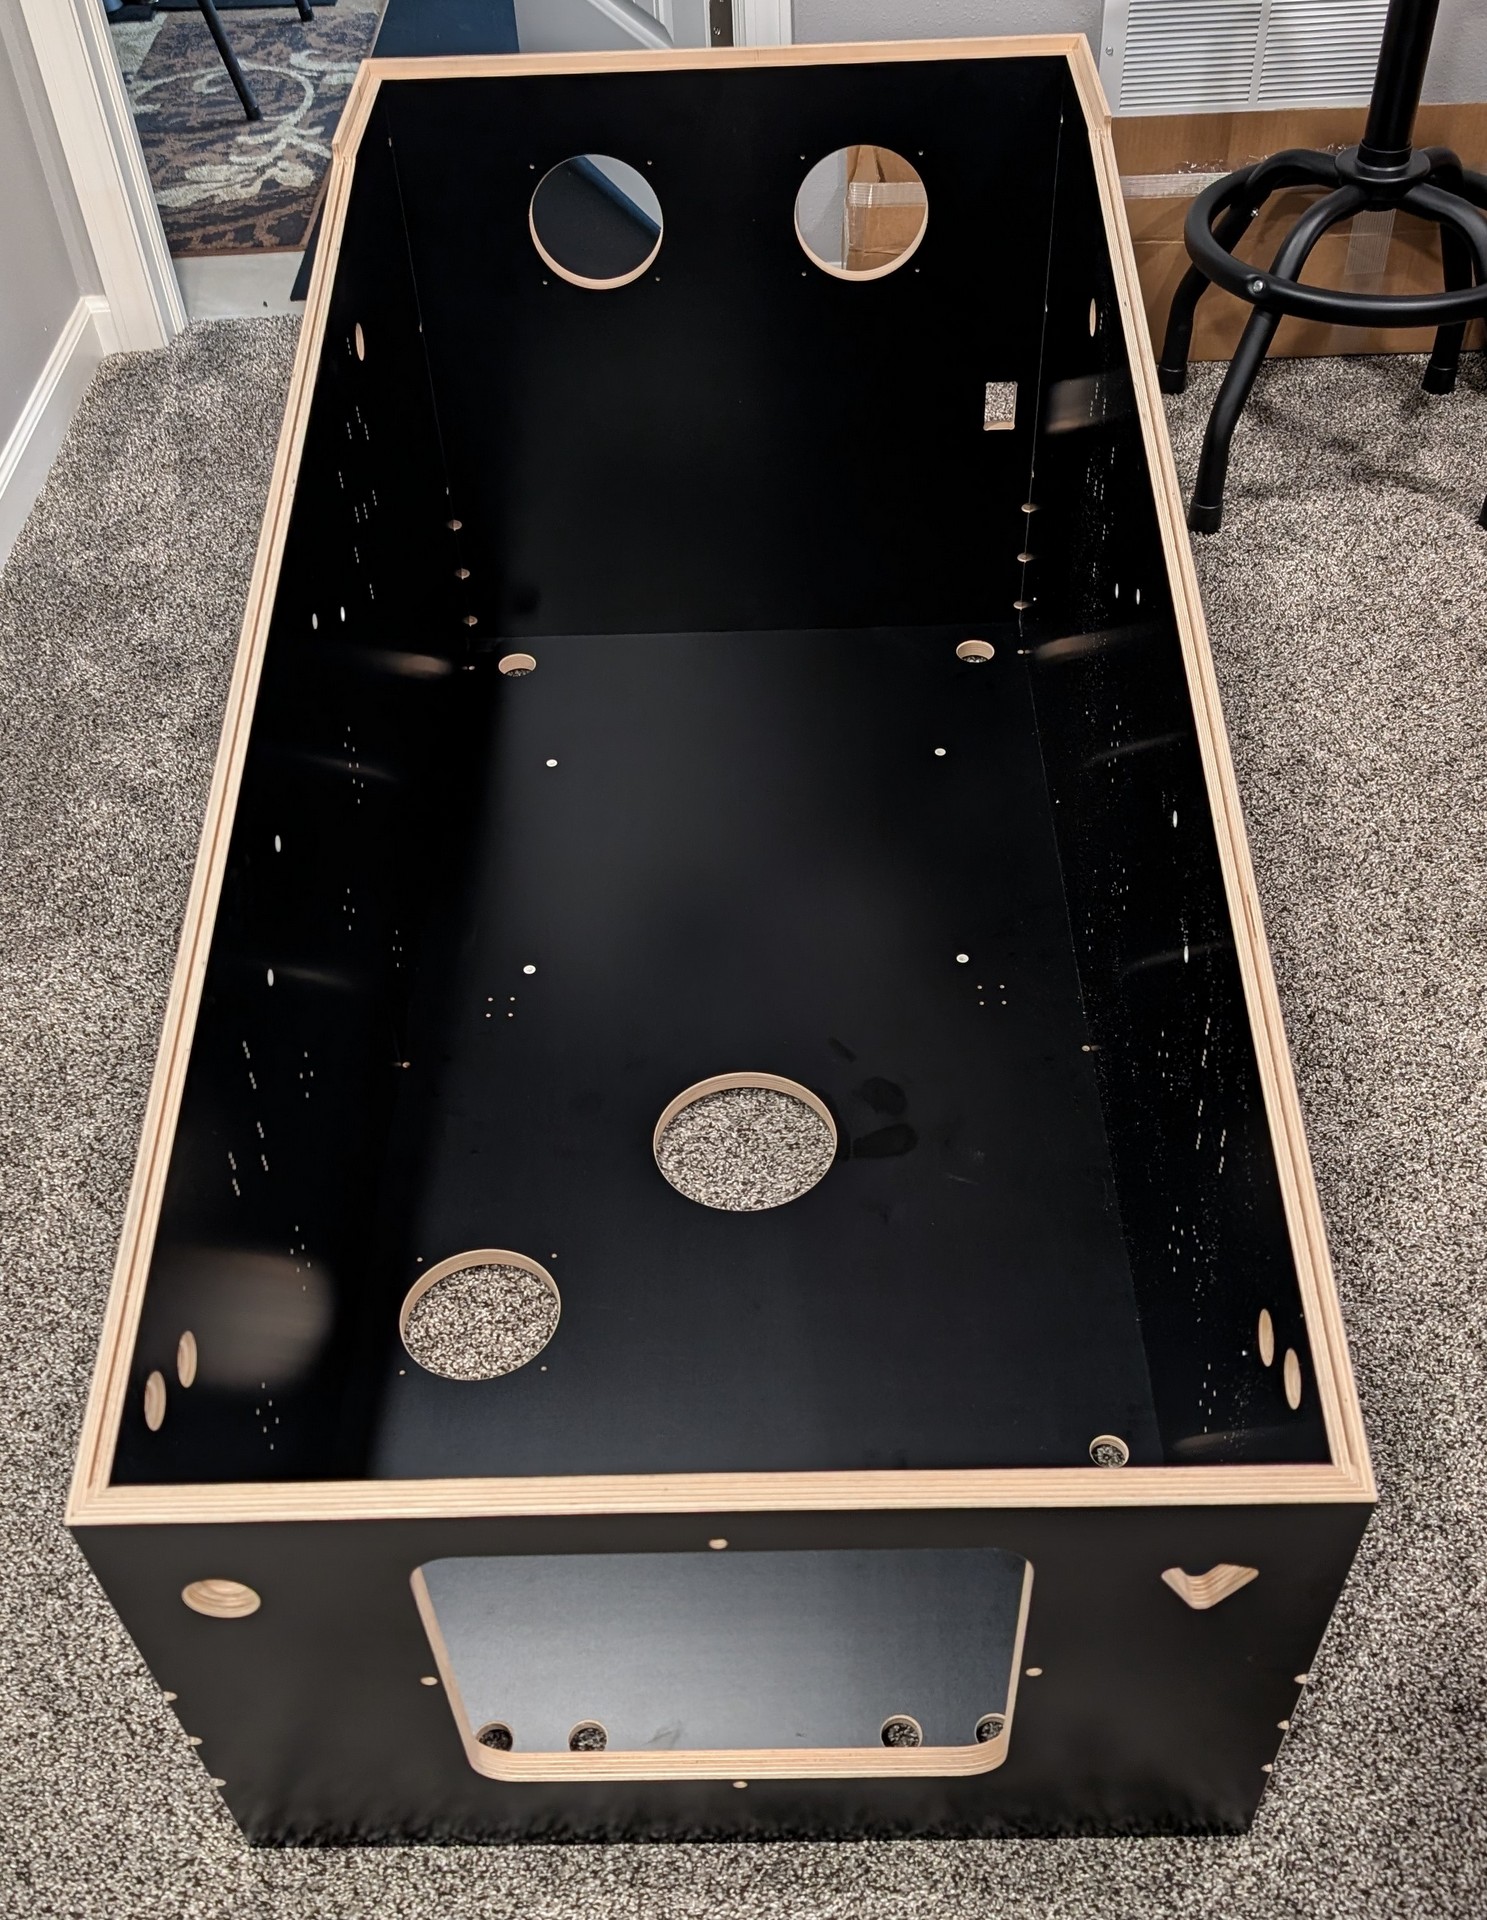
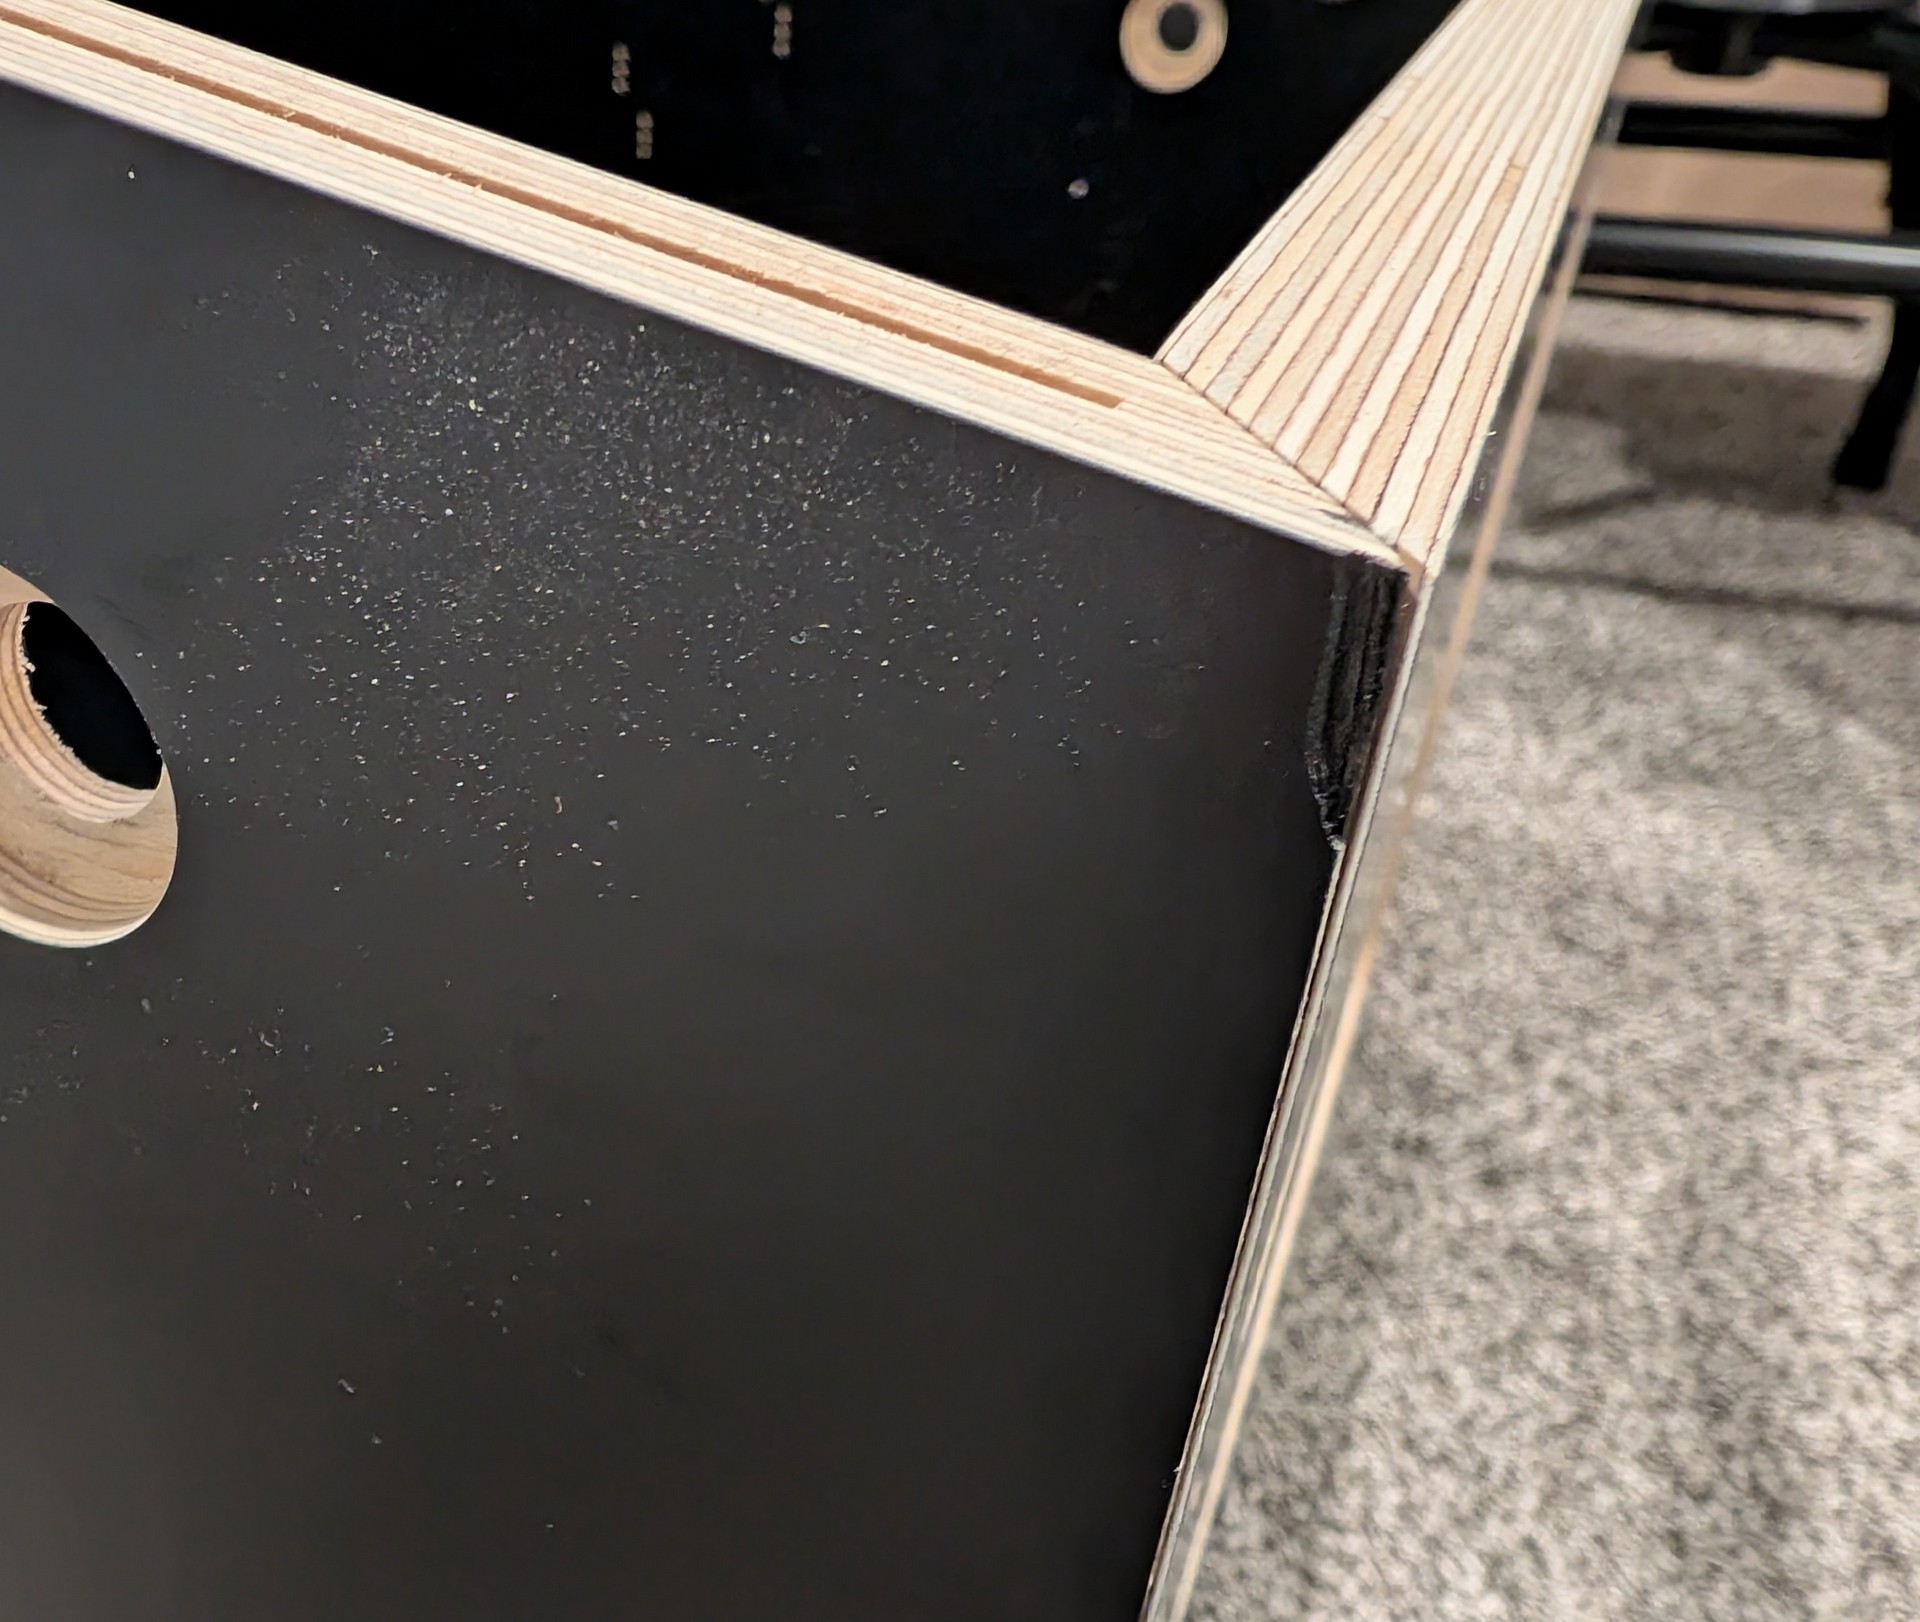
The only flaw I noticed was a small chip on the left front corner of the cabinet. I’m slightly concerned it might show after the artwork is applied. However, it should be covered by the lockdown bar, so it likely won’t be visible or cause any issues. I’ll provide an update in a future post once the artwork is installed.
I didn’t take any photos of the backbox assembly, but it went together very easily. The instructions only call for gluing the main cabinet body—likely because it will experience vibration, shaking, and tilting during use. The backbox uses cam locks to create a tight, seamless fit without glue.
With the cabinet fully assembled, it was finally time to install the artwork.